If your home was built before 1980 in San Diego, there’s a good chance it’s a raised foundation: a perimeter stem wall with a crawl space underneath, posts and beams supporting the floor framing, and finished living space above. Everything that supports your floors lives in that crawl space, out of sight until something fails.
Most homeowners never go down there. Most home inspectors spend 5 minutes in there. Meanwhile, decades of moisture, rodents, and aging hardware do their work, and one day a floor is bouncy, a post is rotted, or a cripple wall has racked.
Here’s what’s down there, what fails, and how it gets fixed.
What’s in a crawl space
Working from the ground up:
Concrete piers (pads). Square or round concrete pads bearing on the dirt, spaced roughly 4 to 8 feet apart in a grid under the floor framing. Pads are the foundation of the post-and-pier system.
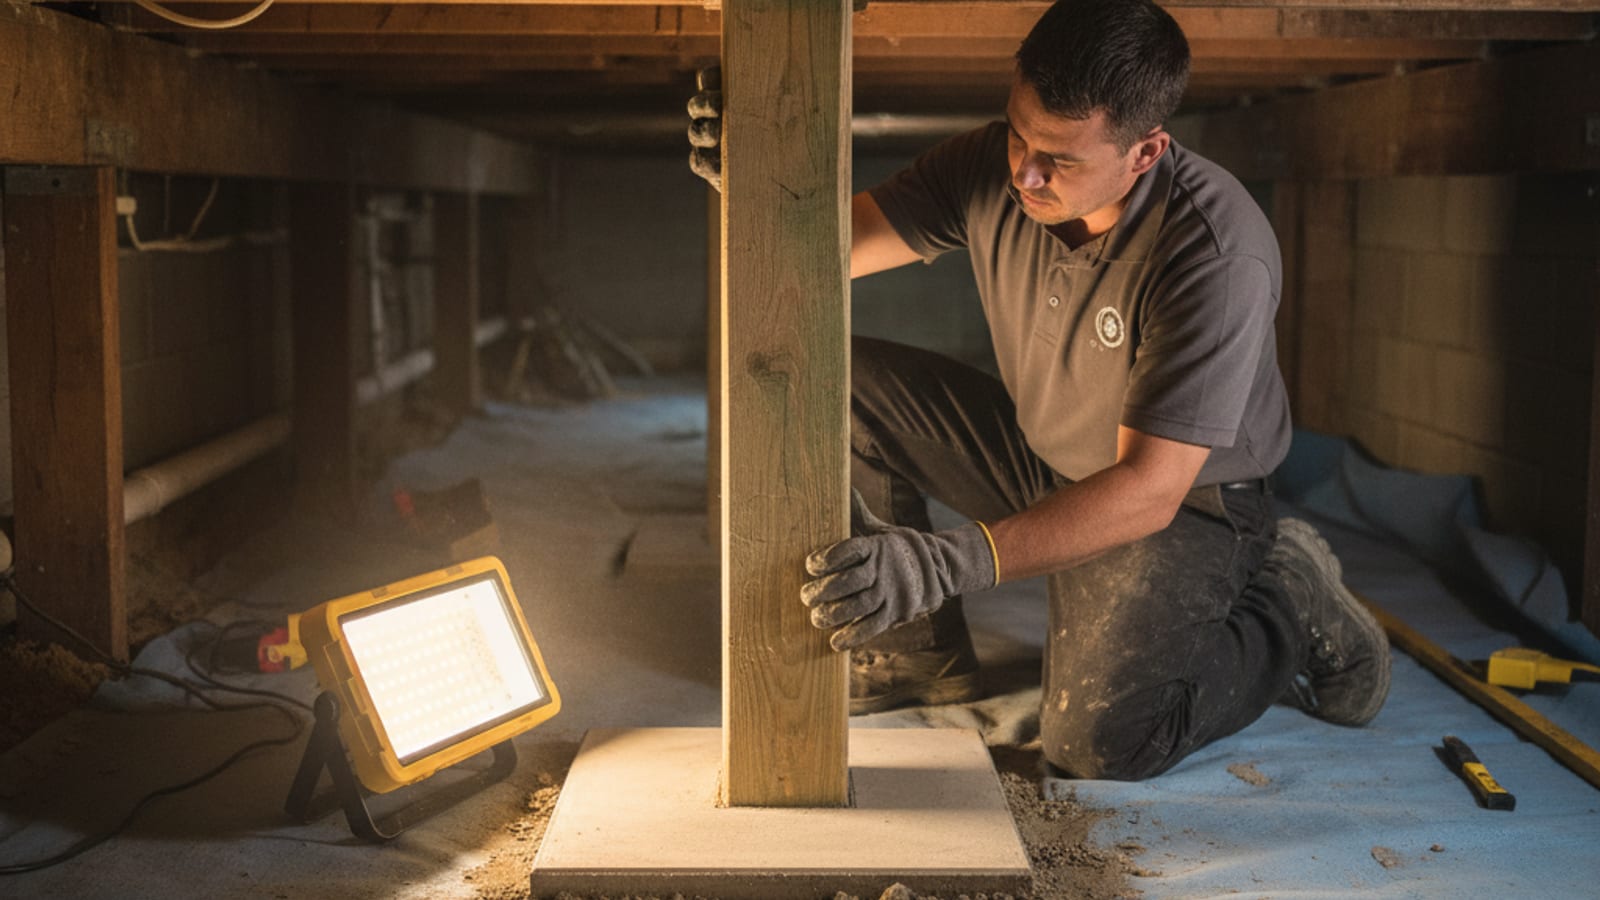
Posts. Pressure-treated wood (or older redwood/Doug fir) sitting on the pads, supporting the beams above. Typical 4x4 to 6x6.
Beams (girders). Horizontal members running between posts, carrying the floor joists.
Floor joists. Joists running perpendicular to the beams, typically 2x8 or 2x10, spaced 16 inches on center.
Subfloor. Plywood or planking nailed to the joists, the structural floor below your finished flooring.
Cripple wall. The short stud wall (typically 2 to 4 ft tall) between the perimeter stem wall and the first floor framing. Holds the perimeter of the house up.
Vapor barrier. A 6-mil polyethylene sheet covering the dirt to limit moisture migration upward. Often missing or damaged on older homes.
What fails (in order of frequency)
1. Posts rotting at the base
Wood posts wick moisture from the concrete pad up into the grain. Over decades, the base of the post softens, fungus enters, and the post loses cross-section. Eventually the post can no longer carry its load and the floor above sags.
Repair: replace the post with new pressure-treated lumber, isolate the new post from the pad with a metal post base, address the moisture source (vapor barrier, drainage).
2. Beam ends sagging or rotting
Beam ends bearing on posts or pockets in the perimeter wall can rot the same way posts do. Beam mid-spans can sag from undersized framing or excessive load. This is common when an interior wall was removed without sistering the beam.
Repair: sister or replace the beam, add a post at the sag point, jack the beam back to level.
3. Cripple wall racking or failure
The cripple wall is the most common seismic failure mode in pre-1960 San Diego homes. Older cripple walls were built without plywood sheathing and without anchor bolts tying the wall to the foundation. In an earthquake, the wall racks (parallelogram shape) and the house drops onto the foundation.
Repair: Earthquake Brace + Bolt (EBB) retrofit. Add plywood sheathing to the inside face of the cripple wall, install anchor bolts through the bottom plate into the foundation, install hold-down brackets at corners.
The State of California offers a $3,000 grant for EBB-eligible homes through the California Earthquake Authority’s program. Most pre-1980 single-story or two-story raised-foundation homes within high-hazard zones qualify.
4. Standing water or persistent moisture
Drainage failure outside the house allows water into the crawl space. Standing water rots wood, accelerates rust on hardware, and creates mold. Even without standing water, persistent humidity above 70% causes the same problems on a slower timeline.
Repair: address the exterior drainage source (corrective grading, downspout extensions, French drain). Install or replace vapor barrier inside. In severe cases, add a perimeter drain inside the crawl space and a sump pump.
5. Rodent and pest damage
Rats, mice, and raccoons can destroy insulation, chew through ductwork, and contaminate the crawl space. Termites and carpenter ants attack the wood structure directly.
Repair: pest control coordination first, then repair the damaged framing and replace insulation. Seal entry points to prevent recurrence.
6. Subfloor damage
Water from above (a leaking shower pan, a slow drain leak) saturates the subfloor and the joists. Often the homeowner doesn’t notice until they remodel the bathroom.
Repair: cut out and replace the affected subfloor, sister or replace damaged joists, address the leak source.
How to spot crawl space problems without going down there
Symptoms visible from upstairs:
- Bouncy or springy floors. A spot in a hallway or living room where the floor noticeably gives when you walk on it. Often a sagged beam or sister joist needed.
- Sloping floors. Cumulative settlement of multiple posts/pads creates floor slope visible with a marble or level.
- Cold floors in winter. Damaged or missing insulation between joists, often from rodent activity.
- Musty smell, especially after rain. Crawl space moisture migrating up through the subfloor.
- Allergies that flare in the home. Mold or rodent waste off-gassing from the crawl space.
What a crawl space inspection includes
When we do a crawl space inspection, we’re checking for:
- Post bases, condition and bearing
- Beam condition and bearing
- Joist condition and span
- Subfloor condition
- Cripple wall sheathing and bolting
- Vapor barrier present and intact
- Standing water or moisture indicators
- Pest activity (active or evidence)
- Plumbing leaks
- HVAC ductwork condition (if any in the crawl)
- Insulation condition
- Access points and ventilation
Photo-documented for the report. Specific repair recommendations with cost estimates.
The crews we match are insured for crawl entry (including verminscent zones) and trained for confined-space work.
The Earthquake Brace + Bolt grant
If your home is:
- A single-family house with a raised foundation
- Built before 1980
- One or two stories
- Located in a high-seismic-hazard zone (most of San Diego County qualifies)
You may qualify for a $3,000 grant through the California Earthquake Authority’s Earthquake Brace + Bolt program. The grant covers most of the cost of a basic EBB retrofit on small homes.
Application is on the Brace + Bolt website (earthquakebracebolt.com). Approved applications get a list of pre-qualified contractors. Work is done to a standardized state plan set, inspected, and the grant is paid after completion.
Total retrofit cost on most San Diego homes: $4,500 to $9,500. Out-of-pocket after the grant: $1,500 to $6,500. Cheap insurance against the most common earthquake failure mode in California single-family homes.
When to encapsulate vs. just fix the basics
Full encapsulation (sealed vapor barrier on the floor and walls, conditioned air, dehumidifier) is overkill for most San Diego homes. Our humidity is low enough that a properly installed 6-mil vapor barrier on the dirt floor is usually sufficient.
Cases where encapsulation makes sense:
- Persistent crawl space moisture that drainage can’t fully solve
- Chronic mold history in the crawl
- Asthma or severe allergy concerns from upstairs occupants
- Coastal homes in Encinitas/Carlsbad with sustained 70%+ humidity
Cost: $4,500 to $12,000 for full encapsulation depending on crawl size.
For most homes, the right move is: fix the structural issues, install a 6-mil vapor barrier, address exterior drainage, and skip the full encapsulation.
Free inspection includes the crawl space if accessible. We’ll tell you what’s actually needed vs. what’s optional.